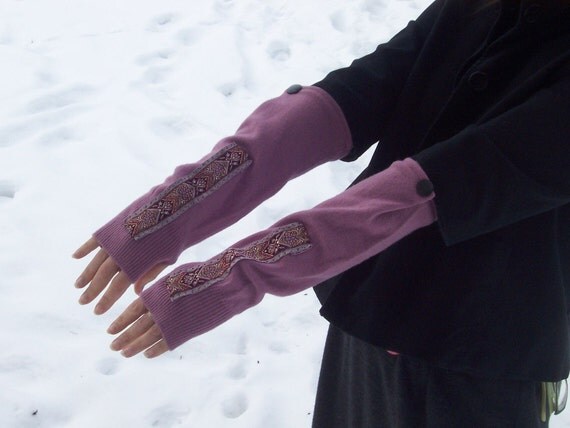
I make a lot of fingerless gloves for my Etsy store, and I've gotten some excellent feedback about them. I use them at the computer, or while texting or driving. *not at the same time, of course.. ;P* They do come in handy! One of the pairs that I hear alot about are embellished with ribbon, like these:
 |
| I pleated the ribbon on these.. |
 |
| We'll be making some like this... |
So, I've put together a tutorial, from start to finish! Go find an old sweater that mysteriously shrank. (Because our waistlines don't grow, our clothing just gets smaller every time we wash it.) That's my story, and I'm sticking to it.
So, what you'll need:
1.
One old sweater, with long sleeves. I like Merino or Cashmere for mine, as these are the softest. For more warmth for outdoor wear, go with lambswool. Or just choose whatever you've got. We'll not be felting these (
though you could), and hemming them to avoid any pesky unraveling.
2.
About 17" of ribbon. Any old ribbon will do. I like the fancy-pancy ribbon. But grosgrain or any lacy trim would be cute too!
3.
Your sewing stuff. Scissors/rotary cutter, sewing machine, thread.
4.
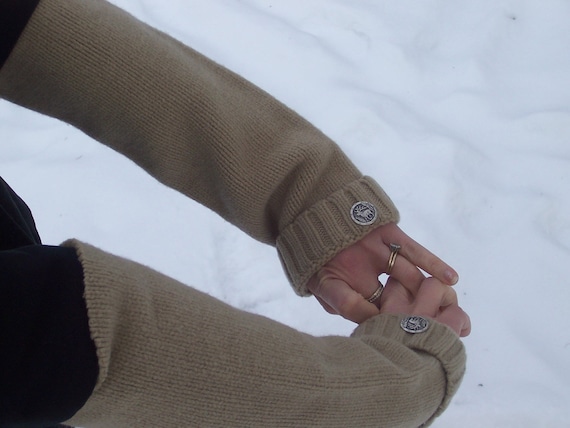
Two buttons. These are optional, but recommended, as the hem at the forearm tends to be a bit too baggy to stay up in an unfelted set of fingerless gloves.
Step 1: Cut off the sleeves at the underarm. Pull the sleeve out so it is straight, and you don't get a triangle shape at the top. Put the rest of the sweater aside for future upcycling into things like
dread bands,
cowls, or
scarves...
Step 2: Roll the top of the arm portion down twice to hide the raw edges. Pin.
Step 3: Using the arm of your sewing machine, sew around the top of the arm- I used a zigzag stitch this time.
Step 4: Cut two strips of ribbon of 8.5". Add fray check to the edges of the ribbon.
Step 5: Pin the strips of ribbon to each glove, beginning at the wrist and folding the edges under, making sure to keep it straight.
Step 6: I hand sew my ribbon down. I still can't seem to figure out how to shove that sleeve into the feed dogs of the sewing machine, and keep it perfectly straight.
Step 7: I usually add buttons at the forearm by making a pleat pointing to the outside of the arm, securing it with the button.
Step 8: Put on, and type away. Hands stay warm and fashionable!
Please send me a link if you make some of these! I'd love to see how everyone else uses their creative half of their brain!
rose.
ETA: Please, make these for gifts, not for sale. That's just plain rude. :P