I like to make my own banners for my etsy shops..... and thought I'd post a tutorial on how to do so--- it's VERY easy!!!
So, you can start out with a picture of a listing from your shop, and end up with something like this:

OR, you can start with a blank palette, and end up with something like this:

I'll show you how to begin--- You'll need mousepaint, and access the picmonkey website. (100% free)
1. Open a photo in mousepaint. (for the blank option, you won't need to-- just open paint.)
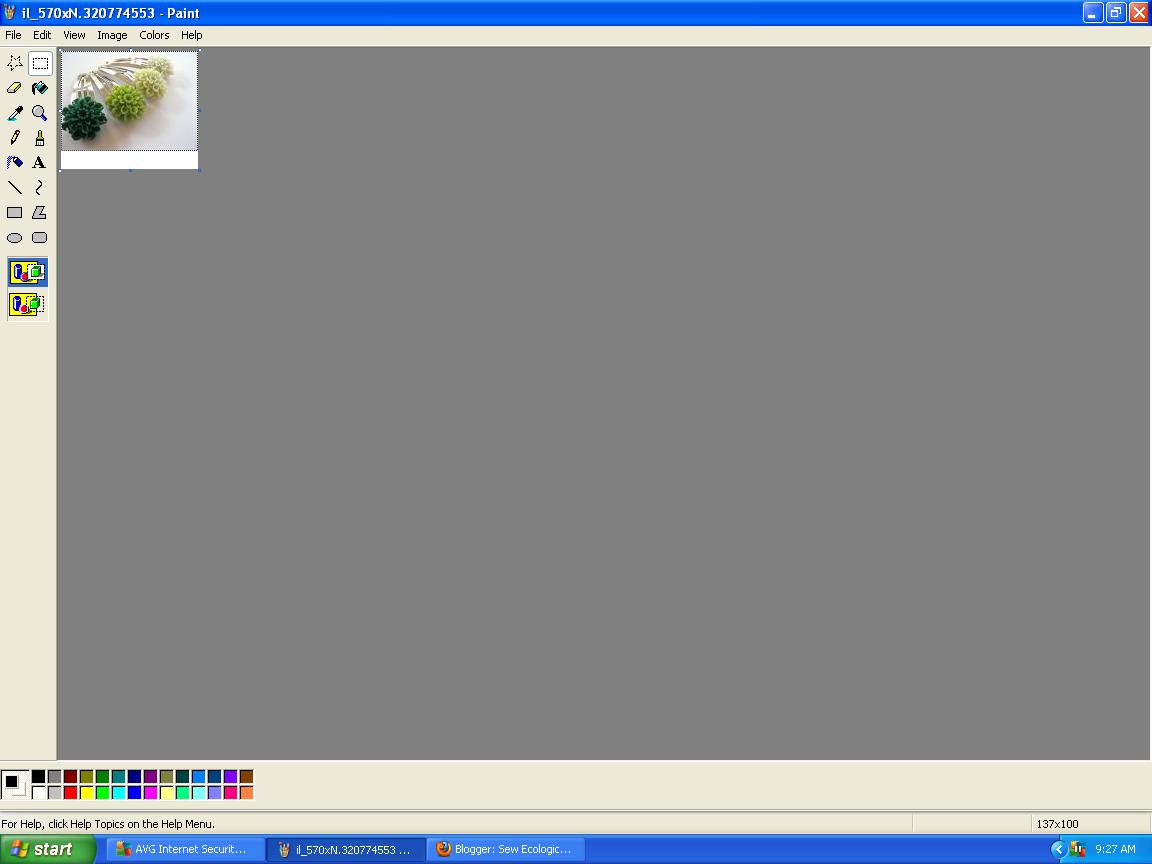
Your photo will be too large. You'll have to shrink it using the "stretch-skew" option under "image". I like to start at about 24% of my original listing size. Your goal is to get it to 100 pixels in height. You can always click "undo" under edit to start over if your guess isn't right.
If your stretch/skew doesn't get it there, you can shorten it using the mouse and clicking on the box around the image and dragging it to the correct height of 100 pixels:
2. Next, you want to use the mouse again--- drag the width to 750 pixels. Be aware that you are also correcting height when you do this. Get as close as you can to 750 pixels--- that is the recommended etsy size! Your banner should look like this:
3. Save this image--- this is the photo you'll upload to picmonkey.com.
4. Open Pickmonkey and upload your new blank banner.....You'll choose "Edit a Photo" from the left side of the screen, choose your saved photo of a blank banner, and it will open for editing:
5. Add text to your banner! Choose the "P" on the left hand side, and enter the text you'd like. You can try out different fonts too! Click "ADD" once you've typed it in. It won't fit at first--- you'll have to drag the mouse to make the text fit, and choose the color you'd like the text to be.
6. Once you've added one text box, you can add another, if you like!
7. Optional::: Want a colored background for the banner instead of white? Choose the "overlay" option (they look like little stickers). Add a rectangle, and choose the color you'd like the background to be:
Now--- using the mouse, stretch that box to cover all your text, and right-click on it. Click "send to back".
You should end up with something like this. You can always change the color, position, or just click undo to remove that sucker!
8. Now, you can save here, or explore the site to add stickers, effects, and other fun stuff. Explore those options, and have fun with it!!!!!! Don't forget to save as a jpg file!
Here are a few banners I've made this week.....You can make them for special occasions, sales, anything!


Have questions? Post them here! I hope I've been helpful in spiffing up your etsy shop!
♥Rose
So, you can start out with a picture of a listing from your shop, and end up with something like this:

OR, you can start with a blank palette, and end up with something like this:

I'll show you how to begin--- You'll need mousepaint, and access the picmonkey website. (100% free)
1. Open a photo in mousepaint. (for the blank option, you won't need to-- just open paint.)
Your photo will be too large. You'll have to shrink it using the "stretch-skew" option under "image". I like to start at about 24% of my original listing size. Your goal is to get it to 100 pixels in height. You can always click "undo" under edit to start over if your guess isn't right.
 | ||||||||
| Step 1: Using Stretch/Skew to get the photo down to size for a banner (100) |
If your stretch/skew doesn't get it there, you can shorten it using the mouse and clicking on the box around the image and dragging it to the correct height of 100 pixels:
 |
| Step 1: Stretching using mouse drag. |
2. Next, you want to use the mouse again--- drag the width to 750 pixels. Be aware that you are also correcting height when you do this. Get as close as you can to 750 pixels--- that is the recommended etsy size! Your banner should look like this:
 |
| Step 2: Stretching to the correct width of 750 pixels using mouse drag. |
3. Save this image--- this is the photo you'll upload to picmonkey.com.
4. Open Pickmonkey and upload your new blank banner.....You'll choose "Edit a Photo" from the left side of the screen, choose your saved photo of a blank banner, and it will open for editing:
 |
| Step 4: Opening saved photo under the "edit" option in picmonkey. |
5. Add text to your banner! Choose the "P" on the left hand side, and enter the text you'd like. You can try out different fonts too! Click "ADD" once you've typed it in. It won't fit at first--- you'll have to drag the mouse to make the text fit, and choose the color you'd like the text to be.
 | ||
| Step 5: Adding text to the banner in picmonkey. |
6. Once you've added one text box, you can add another, if you like!
 |
| Step 6: Adding more text. You can center and move the text around by grabbing the whole box with the mouse! |
7. Optional::: Want a colored background for the banner instead of white? Choose the "overlay" option (they look like little stickers). Add a rectangle, and choose the color you'd like the background to be:
 | ||
| Step 7: Add a colored rectangle overlay. |
Now--- using the mouse, stretch that box to cover all your text, and right-click on it. Click "send to back".
 | |
| Step 7: Adding the colored rectangle to the background. |
You should end up with something like this. You can always change the color, position, or just click undo to remove that sucker!
 |
| Step 7: Your colored box in the background. |
Here are a few banners I've made this week.....You can make them for special occasions, sales, anything!


Have questions? Post them here! I hope I've been helpful in spiffing up your etsy shop!
♥Rose
Great help, Rose.
ReplyDeleteDon't have picmonkey, but looks like a great tool.
ReplyDeletePicmonkey is a free website :D
DeletePicmonkey is free online, www.picmonkey.com :)
ReplyDeleteThis is so awesome! I never thought I would be able to do my own banner, but I'm just about done now!
ReplyDeleteI can't seem to bold my store name. The bold button is faded and doesn't do anything :-(
Everything else was super easy!
Thanks Rose!
Denimdaisy---
ReplyDeleteSome of the fonts don't have a bold option--- that may be the problem! :)
You're welcome! Watch out though--- making these is ADDICTIVE!
Awesome info I did have some sizing issue but I just used the resize tool :D HEAVEN - maybe you can do a quick tute on labels I see pic monkey has some cute labley things too I am trying to find a way to make little tags for crocheted items that I can print in tiles on my printer then use some sort of fancy punch to punch them out add a hole punch and wa-la I suppose I can tink around in pic monkey for while ;D
ReplyDelete