Monday, December 6, 2010

Sneak Peek

Here are a few things I've made for the Grand Opening of my Etsy shop-  I'm trying to take photos inside, which is no good, and without a photographer with me modeling; also not good.  I won't put these in the shop until I get some decent photos...


Upcycled and Embellished Cashmere headbands...


Upcycled and embellished Italian Merino Wristwarmers...


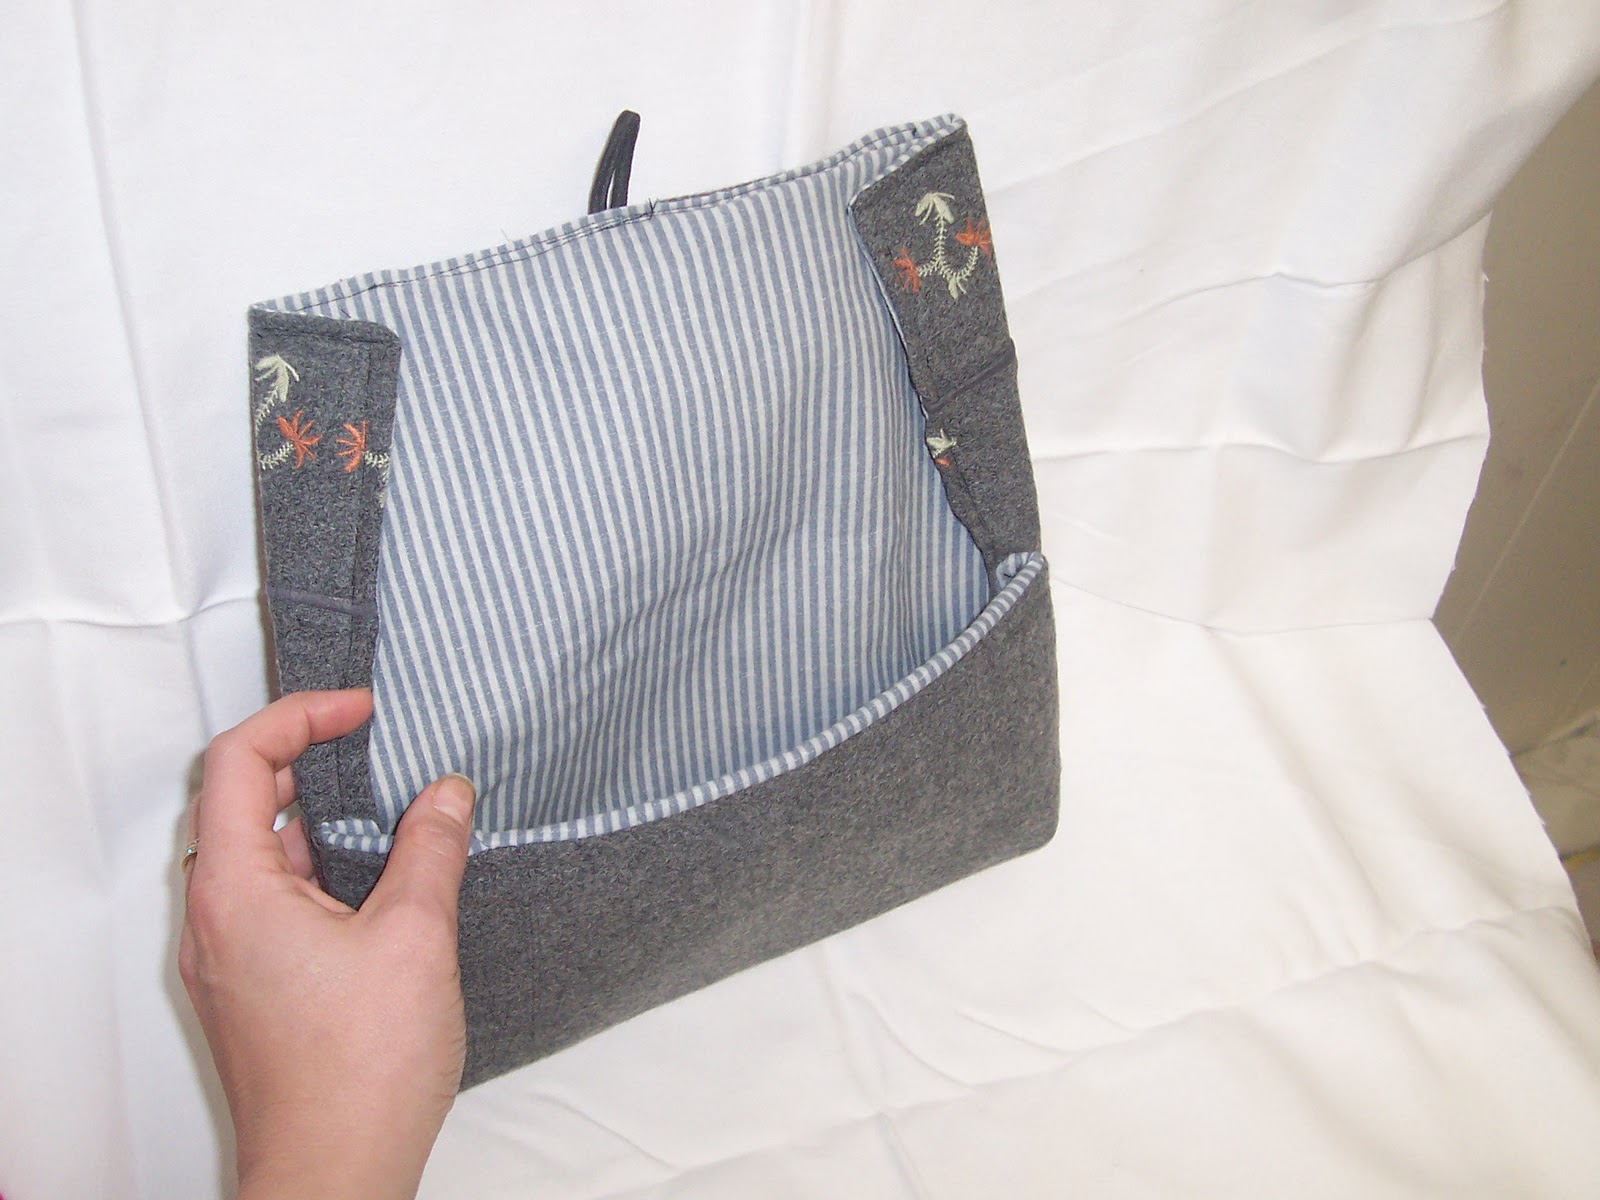
Upcycled wool clutch with cotton lining and button wrap closure...


Cashmere Patchwork Reversible Cowl...


Knitted Infinity Wool Necklace/Mini Cowl

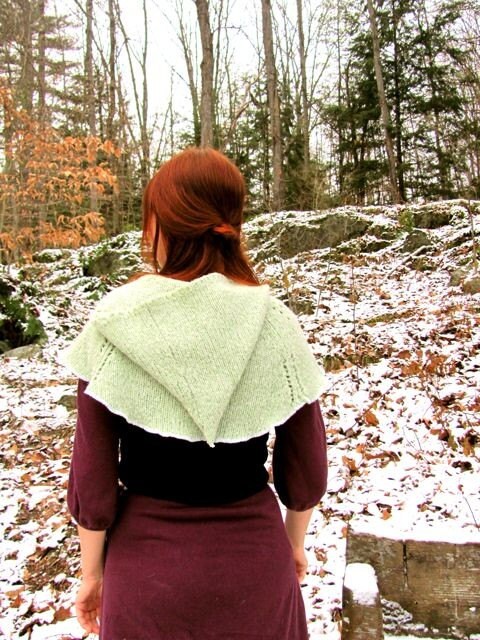
Like I said, the pics suck.  I need to get outside, flat iron my hair, put on some makeup, and look like this:


Oh, who am I kidding.  Ugh.  Any one want to come over and help me with photography?  I suck at it.

Etsy happiness...

Now that I'm getting ready for the grand opening of my Etsy shop, I've been perusing other shops that are successful for ideas on photography, layout, pricing, etc.

The problem with that- I want to buy, buy, buy.  Which is not possible with our current budgetary crisis in the M. household. 

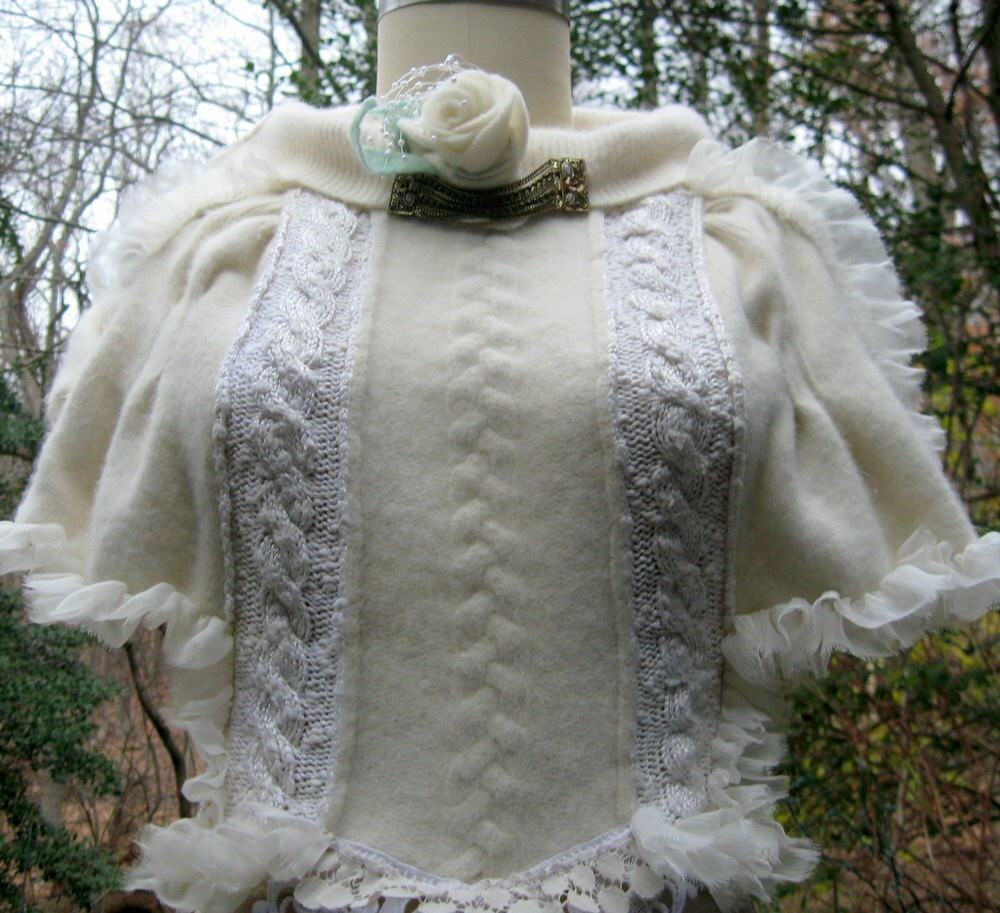
But if I could, I'd buy all of this:


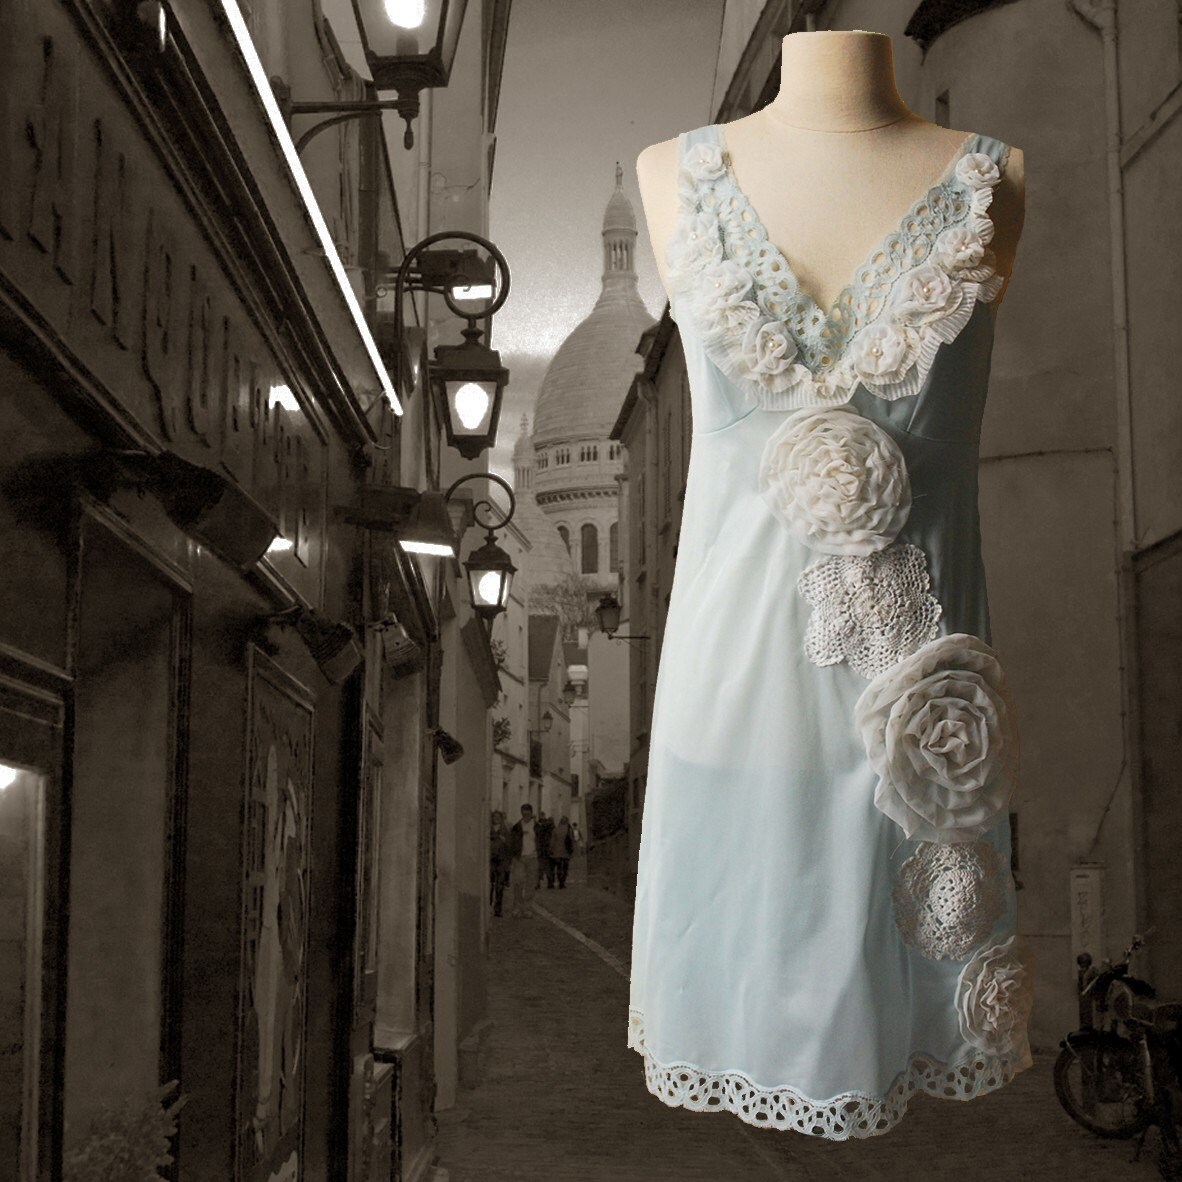
And I definitely need some of these:
 
Go.  off and away.  Search until you puke.  Or, just buy me something.  

Friday, December 3, 2010

Upcycled Skirt to Apron Tutorial

As promised, something to work on this weekend.

A lovely unused skirt becomes an apron.

Have any old skirts laying around that you never wear, don't look good on you, or are just the wrong size?  Hmm.. I have all of those.  Instead of donating them, I've been chopping them up to make aprons.  Most of them already have a waistband, shaping, and a hem!  If I get really lucky, there are pockets...

So, a few words of wisdom to start out with:

1.  Only use skirts that are mostly cotton for aprons that will actually be used to absorb things.  Fancier skirts make fancier aprons- cocktail party apron anyone?  (I don't know anyone who still has Bridge parties, or I'd suggest one of those...)

2.  The smaller sizes 0-6 make lovely aprons with a single side seam cut.  Cut both for larger size skirts, and you have two apron fronts, or use one side to make a bib for the apron.. Still working on that idea.

3.  I use bias binding in this tutorial- it really saves me time- but you could just as easily do a double hem on the sides of the skirt.

4.  Let creativity rule- this is a very basic apron.  Think of all the fun pockets and embellishments you could make!

So, first things first-
 You'll need-
1.  Skirt in question
2.  Extra fabric * if you're cutting up both side seams, you could just use the back of the skirt....
3.  Double Fold bias tape * or hem up the sides.
4.  Scissors/Rotary Cutter
5.  Pins, Sewing machine...

Steps:

1.  Cut the seams.
2.  Cut fabric for pockets, if desired.  I cut a long rectangle, fold it in half; right sides together.  Then sew all the way around it, leaving a small opening for turning.  Turn right side out, press, and sew onto skirt, with folded edge as the top of the pocket.


4.  Attach double fold binding to the side seams.
 
5.  Make Ties.  I've chosen to keep the original waistband intact.  So I cut ties twice as long as I'd need so they can wrap around to the front.


6.  Fold them in half, long ways.  Sew all but one short edge, and turn right side out.  Press.


I turn all my ties with a giant knitting needle.
7.  Attach Ties.  I do this just inside the bias tape on the wrong side of the apron.


8.  Wrap around yourself, make some tea, and enjoy your upcycling craftiness.

 Go- get busy!

Inspired.

 I'm sure you peruse the blogs, looking for ideas on what to make, right?  I mean, I will spend HOURS looking over blogs at the beautiful things folks whip up, and am so inspired.  By the time my 3 cups of coffee are gone on Saturday mornings, I bust a move and try to replicate what I've seen.

I'm not always successful, but here are a few inspirations that have been sewn up on my cheap Brother sewing machine into things I am proud to gift to my loved ones.

The first comes from Luv in the Mommy Hood, where she made the "Infinity and Beyond" Flannel Scarf.  This thing very nearly made it into the "I know I should gift this, but I think I need it."  No one would ever know if this joined the Cashmere throw that I had to keep, or the jersey necklace (post coming soon!) that became a staple of my wardrobe.  Right?  Right?


My pictures suck, I know- click on that link above to see someone who actually knows how to handle a  camera.  Photography must improve if I want to start this Etsy business, but I digress.


Next came the Flower in my Hair from Trey and Lucy.  I tried.  I really tried.  But, for some reason, I could not replicate her beautiful flower exactly.  I'm still happy with the outcome though, made for a sister in law who adores purple.


 I've included both a barrette and a pin on the back.  Wear it in your hair or on your purple coat, sis!

And last, but not least- I made this beautiful scarf with the combined inspiration of many, many sites.  I can't wait to see her face when she gets it.  It is just sooooo her.


I know, I know.  Dress for success.  Or shower at the very least...

 So there it is.  Everything I've sewn for Christmas so far.  Run over to One Pretty Thing and get inspired.  They have foodie crafts too.  Stay tuned for that.  I'm going to try my hands at hot chocolate on a stick, people!

Check in this weekend for a tutorial on how to upcycle an old skirt into a cute apron!

Wednesday, December 1, 2010

A couple of projects....

So, I've discovered a book that I adore.  Small Stash Sewing, by Melissa Averinos.  She has a most excellent blog yummygoods, that I peruse with my coffee...

I immediately fell in love with her "Owlie Mcowliepants" Pillow from the book, and had to make one or two for Christmas gifts....  I've only made this one so far, but another is in the works...


Isn't he adorable?  I love the wings. See the feather detail.  That Ms. Averinos is an imaginative woman!


The second project that I knew I had to make was the cloud quilt using 9 fat quarters....  Feast your eyes upon this people!


Gorgeous, no?  Someone is going to be lucky this Christmas!

Sweating the clock...

The calendar pages fly off the wall like you're living in a Tom and Jerry cartoon.  You have to make 10 more gifts by Christmas...

Pulse racing...

Head spinning...

Okay.  Take a deep breath.  Think.  Any old sweaters in the house?

Make some of these for the tween or stylish adult woman on your list.  Give it a whirl- if you have cashmere laying around, even better-


The top one are embellished with some mohair yarn, and the bottom two are leftovers from my cashmere blankies *points down*.

Steps for making armwarmers:

1.  Cut sleeves off of an old sweater.  Tighter fitting arms work best for this; nobody needs baggy arm warmers.

2.  Using a seam ripper, cut a 1" hole in the sleeve seam about 2" from the wrist hem of the sweater arm.  You could leave this, but since we didn't felt the sweater, your safest bet is to bind the thumbhold with some yarn.  Just whipstitch around the hole loosely, covering the cut on both sides.

3.  Hem the top by hand or machine.

Voila!  Too boring?  Embellish away!  I may embellish my next set with buttons, ruffles, or ribbon.  The variations are endless.

Gift to that tween/teen/fashionista in your life.  And feel good that you didn't pay retail.

 
  Lisa Baday Ribbed Armwarmers from Nordstrom- $134

So there you are.  Stop sweating the clock.  Whip up 10 pair of these in about 3 hours, and the calendar pages can fly off the wall all they want.