Okay, so everyone needs a circle scarf!! How about you *gasp* sew your own????? If you have a sewing machine lying around, it's time to use it!!! Really. You don't have to cut anything. You're going to sew 2 straight lines, and be DONE.
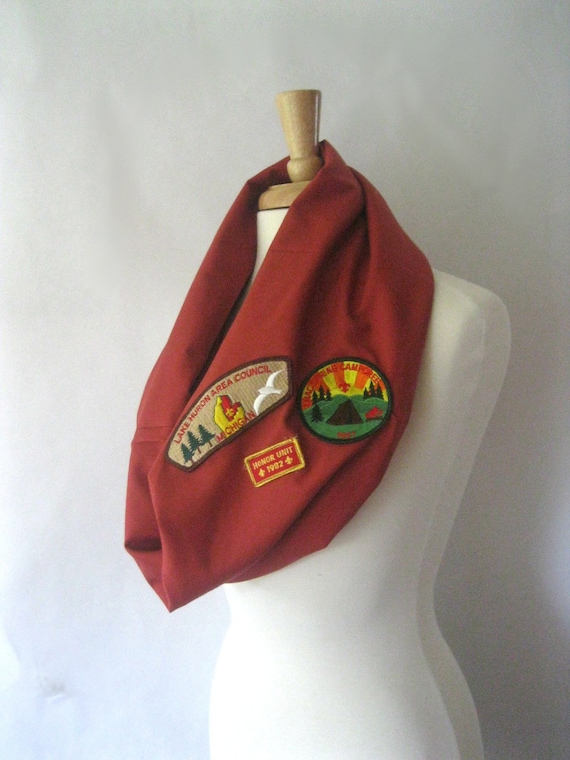
What you'll end up with?

What you'll need:
1 yard of fabric - for this project, I've used quilting weight cotton in a fun print!
A sewing machine - see instructions for how to thread that thing!
So, here goes.
Step 1: Iron fabric. Unless you want it to be wrinkly. (I don't)
Step 2: Fold fabric in half the long way-- your goal is to have a longer piece. Fold it both ways, and see which way is longer. MAKE SURE THE RIGHT SIDE IS FACING EACHOTHER.
Like this:

Step 3: Sew along the raw edges of the fabric -- keep that sewing foot the same distance from the edge of the fabric at all times, and you'll have a straight long line, and an inside out tube.
Like this:

Step 4:Turn the long tube right side out. Iron again.
Step 5: Fold in one end of the tube about 1/2", and iron that edge.
Like this:

Step 6: Tuck the other raw edge of the tube INSIDE the folded edge, about 1/2 - 1" of fabric. For this type of circle scarf, I don't "twist" the fabric, but you are welcome to do so! Pin the tucked fabric inside the folded end.
Like this:

Step 7: Sew a straight line across the tucked edge. You are DONE.
In 10-15 minutes max, you've sewn your very first fashion accessory!!!!!!!

Now, if you're feeling fun, start sewing things onto the fabric before you sew the tube, and you'll have embellished scarves!


Have fun!!!
♥Rose
What you'll end up with?
What you'll need:
1 yard of fabric - for this project, I've used quilting weight cotton in a fun print!
A sewing machine - see instructions for how to thread that thing!
So, here goes.
Step 1: Iron fabric. Unless you want it to be wrinkly. (I don't)
Step 2: Fold fabric in half the long way-- your goal is to have a longer piece. Fold it both ways, and see which way is longer. MAKE SURE THE RIGHT SIDE IS FACING EACHOTHER.
Like this:

Step 3: Sew along the raw edges of the fabric -- keep that sewing foot the same distance from the edge of the fabric at all times, and you'll have a straight long line, and an inside out tube.
Like this:

Step 4:Turn the long tube right side out. Iron again.
Step 5: Fold in one end of the tube about 1/2", and iron that edge.
Like this:

Step 6: Tuck the other raw edge of the tube INSIDE the folded edge, about 1/2 - 1" of fabric. For this type of circle scarf, I don't "twist" the fabric, but you are welcome to do so! Pin the tucked fabric inside the folded end.
Like this:

Step 7: Sew a straight line across the tucked edge. You are DONE.
In 10-15 minutes max, you've sewn your very first fashion accessory!!!!!!!

Now, if you're feeling fun, start sewing things onto the fabric before you sew the tube, and you'll have embellished scarves!

Have fun!!!
♥Rose
I've been itching to get at the vintage sewing machine my gramma gave me - I just need to find the time to learn how to start! lol
ReplyDeleteLove it! Great post!
ReplyDeleteLovely tutorial Rose!
ReplyDelete